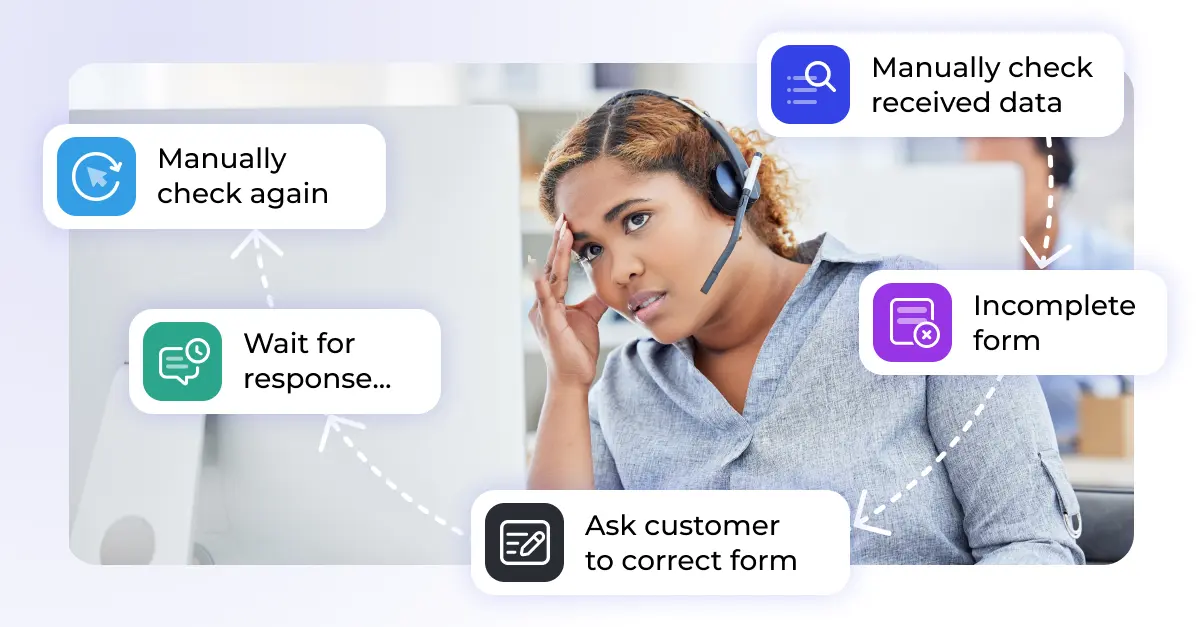
If you’ve ever managed customer support, you know the drill. Tickets pile up, urgent issues get buried, and your team spends way too much time on repetitive tasks. Sound familiar? That’s where Zendesk’s triggers and automations come in—they’re game-changers for any support team looking to work smarter, not harder.
Picture this: instead of manually assigning every high-priority ticket or remembering to send follow-up surveys, these tools handle it all automatically. Your agents can focus on what they do best—solving complex customer problems—while the routine stuff takes care of itself.
Let’s dive into how you can set up these powerful features to transform your support workflow. We’ll cover everything from basic setup to advanced combinations that’ll make your team more efficient than ever.
💡 Pro tip: Use Zendesk analytics to identify which tasks are eating up your team's time. This data will help you decide what to automate first.
What Are Zendesk Triggers?
Think of triggers as your support team’s instant responders. They’re always watching, ready to jump into action the moment something specific happens. When a customer submits a ticket, updates their request, or when any other event occurs, triggers can automatically:
- Fire off email responses
- Route tickets to the right agents
- Update ticket properties
- Add tags or notes
The beauty of triggers is their speed. They work in real-time, so there’s no delay between when something happens and when action is taken. This is especially crucial for urgent issues that need immediate attention.
For example, when a VIP customer submits a ticket, a trigger can instantly assign it to your most experienced agent and send a personalized acknowledgment email. No waiting, no human error—just smooth, automatic handling. For a full list of trigger actions and conditions, check the Zendesk trigger documentation.
✅ Use triggers to react to events right when they happen—no delay.
What Are Zendesk Automations?
While triggers are your instant responders, automations are your patient, methodical assistants. They work on schedules—checking in every hour, every day, or whatever timeline you set. Automations excel at:
- Following up on resolved tickets
- Escalating old, unresolved issues
- Organizing and categorizing tickets
- Running maintenance tasks
Here’s where automations really shine: they handle the stuff that’s important but not urgent. Like sending a satisfaction survey three days after a ticket is closed, or flagging tickets that have been sitting open for too long.
The key difference? Automations give you the luxury of time. They’re perfect for tasks that need to happen eventually but don’t require split-second timing.
🔎 Want to supercharge your automations? Tools like Process Excel can help you extract structured data before your automated workflows kick in.what to automate first.
Triggers vs. Automations: Choosing the Right Tool
Understanding when to use each tool is crucial for building an effective support system. Here’s how they stack up:
Purpose and Timing
Triggers are your emergency responders. When a customer marks their ticket as “urgent,” you want immediate action—not something that might happen in the next hour. Triggers make this possible.
Automations, on the other hand, are your follow-through specialists. They’re perfect for those “don’t forget to…” tasks that can wait a bit but shouldn’t be ignored.
Event-Driven vs. Time-Based
Triggers react to what happens. A new ticket arrives, a status changes, a customer responds—these events trigger immediate actions.
Automations run on the clock. Every hour, every day, every week—they check conditions and take action based on your schedule.
Visibility and Feedback
Triggers often provide immediate, visible results. Your team sees tickets getting assigned, emails being sent, statuses changing right away.
Automations work more quietly in the background. They’re the behind-the-scenes workers that keep everything running smoothly without constantly demanding attention.
Combining Triggers and Automations for Maximum Impact
The real magic happens when you use both tools together. Here’s how to create powerful workflows:
1. Managing Urgent Issues
Start with a trigger that immediately assigns high-priority tickets to your senior agents. Then set up an automation that reviews any unresolved urgent tickets after a few hours and escalates them to management.
This two-step approach ensures urgent issues get immediate attention while preventing anything from falling through the cracks.
🧹 Need to clean up old tickets? Export Tickets can help you archive or remove stale records in bulk.
2. Customer Follow-Up That Actually Works
Use a trigger to send an immediate “we got your request” email when tickets are resolved. Then create an automation that waits a few days before sending a satisfaction survey.
This timing feels natural to customers and gives you better response rates than immediate post-resolution surveys.
3. Smart Ticket Organization
Set up triggers to automatically tag incoming tickets based on keywords or issue types. Then use automations to generate regular reports on ticket volume and team performance.
This combination gives you real-time organization with periodic insights into your support operations.
📁 Pro tip: Process DOCX can extract structured data from attachments before your tagging triggers activate, making your categorization even smarter.
How to set up triggers and automations
Setting Up Your First Trigger
Ready to get started? Here’s how to create your first trigger:
- Log into your Zendesk account and head to the Admin Panel
- Navigate to “Business Rules” and click “Triggers”
- Hit “Add Trigger” to start building
- Define your conditions—what needs to happen for this trigger to fire?
- Set your actions—what should happen when conditions are met?
- Save and activate your trigger
Important: Test your trigger with sample tickets before rolling it out to your live environment. Trust me, you’ll catch issues early this way.
Setting Up Your First Automation
Automations follow a similar process:
- From the Admin Panel, go to “Business Rules” → “Automations”
- Click “Add Automation” to begin
- Set your schedule—how often should this run?
- Define any conditions that need to be met
- Specify what actions to take
- Save and activate
Remember: automations run hourly, so they’re perfect for tasks that don’t need immediate execution but shouldn’t be forgotten. You can find Zendesk’s official overview of automation rules and use cases in this support guide.
Transform Your Support Operations
Zendesk triggers and automations are an excellent duo for streamlining support operations.
- Triggers = Real-time responders for urgent issues
- Automations = Silent assistants for recurring tasks
By leveraging both, you can:
- Improve team efficiency
- Ensure no ticket falls through the cracks
- Deliver consistent follow-up
- Reduce manual work
Taking It Further
When you’re ready to expand beyond basic triggers and automations, consider specialized tools that can enhance your Zendesk setup:
- Data preprocessing for smarter automation conditions
- Automated cleanup to keep your instance running smoothly
- Workflow orchestration like data validation for complex multi-step processes
The key is starting simple and building complexity as your team gets comfortable with automation. Soon you’ll wonder how you ever managed support without these tools.
→ See how Knots enhances Zendesk automation
→ Talk to our team about your use case
FAQs about Zendesk triggers and automations
What’s the difference between triggers and automations in Zendesk?
Triggers respond immediately to specific events. Automations run on schedules to handle time-based tasks.
Can I use both together?
Yes! Triggers handle instant actions, automations manage delayed or ongoing tasks.
How often do automations run in Zendesk?
Every hour. They’re best for non-urgent workflows like follow-ups or escalations.
Can Zendesk triggers send emails automatically?
Absolutely. You can notify customers or agents instantly based on defined conditions.
How do I avoid conflicts between triggers and automations?
Plan your conditions carefully. Use Zendesk’s test features to make sure rules don’t overlap or counteract each other.